In this tutorial, we will learn about the steps involved in Environment setup for PHP. As we learned in the last tutorial we have to install a virtual server on our PC to run PHP code. Here we will learn in detail how we can install a virtual server on our PC.
Many virtual servers are available in the market, which helps us create PHP projects. But we will use the XAMPP virtual server in this tutorial series. You will be glad to know that the XAMPP server is available for most of the commonly used operating systems such as Windows, Mac and Linux. Please click on the following link that will lead you to the apachefriends.org website from there you can download XAMPP software according to the configuration of your system.
Click Here To Download the XAMPP SERVER
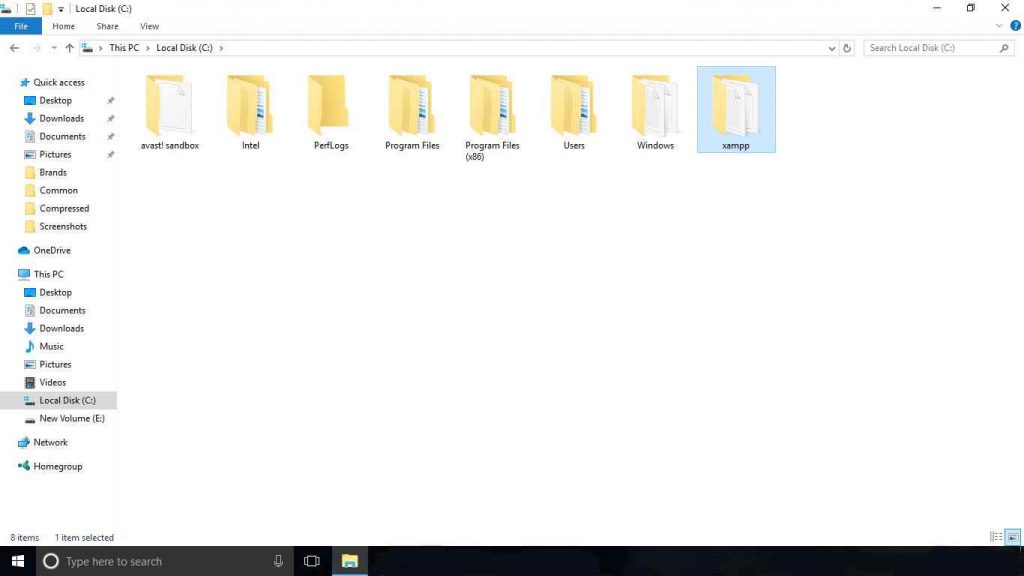
After the completion of the download and installation process, you can see there is an XAMPP folder in C drive (in Windows) as shown in the picture.
Please note if you have choosed differenct location while installing xampp. Then the xampp folder will on the selected location
If you open this XAMPP folder then you will see a folder named htdocs there. In this htdocs folder, you have to create a folder for your project and save all files related to the project in this newly created folder. But now the question arises is how to run our project. So to run the project you have to start localhost(a local server). To do this, search XAMPP in your system and open the XAMPP Control panel.
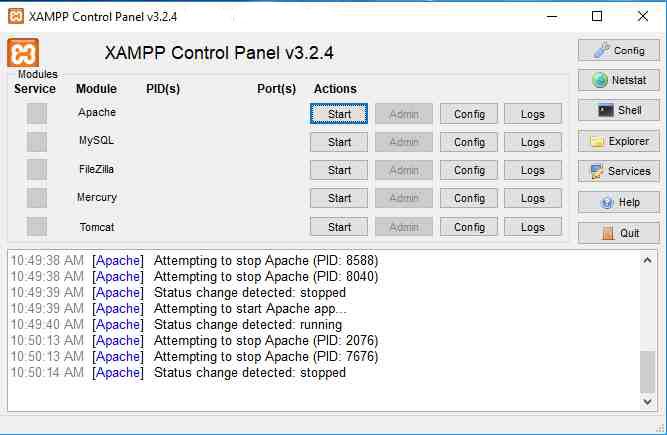
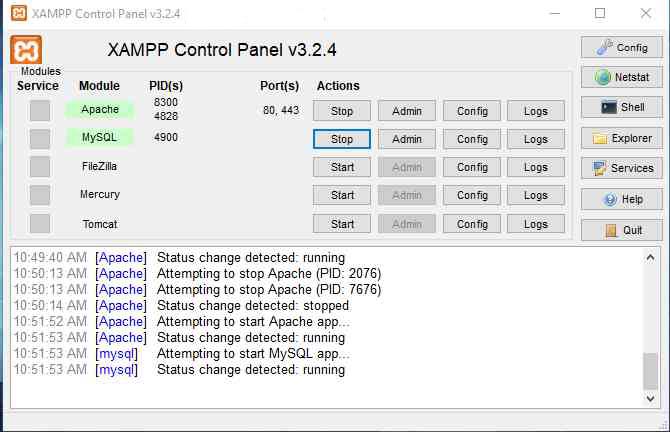
A Screen like this will open. just click on the start button in front of Apache and MYSQL as shown in the image below.
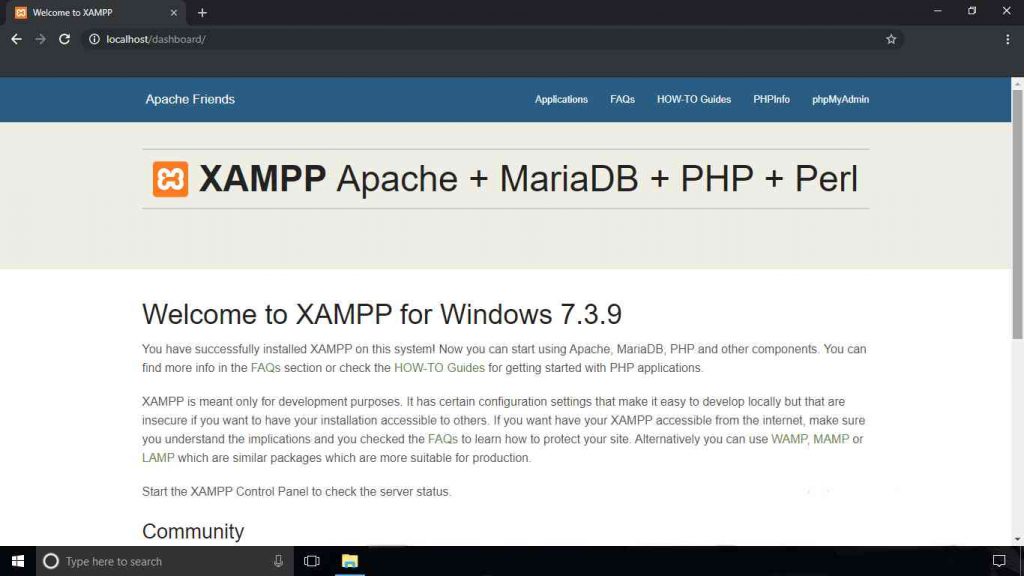
After that open any browser and type localhost in address bar. If you see a screen similar to the one given below it means your virtual server is ready to work. In the next tutorial, we will learn how to write a Hello World program in PHP.